The Glam Hunter
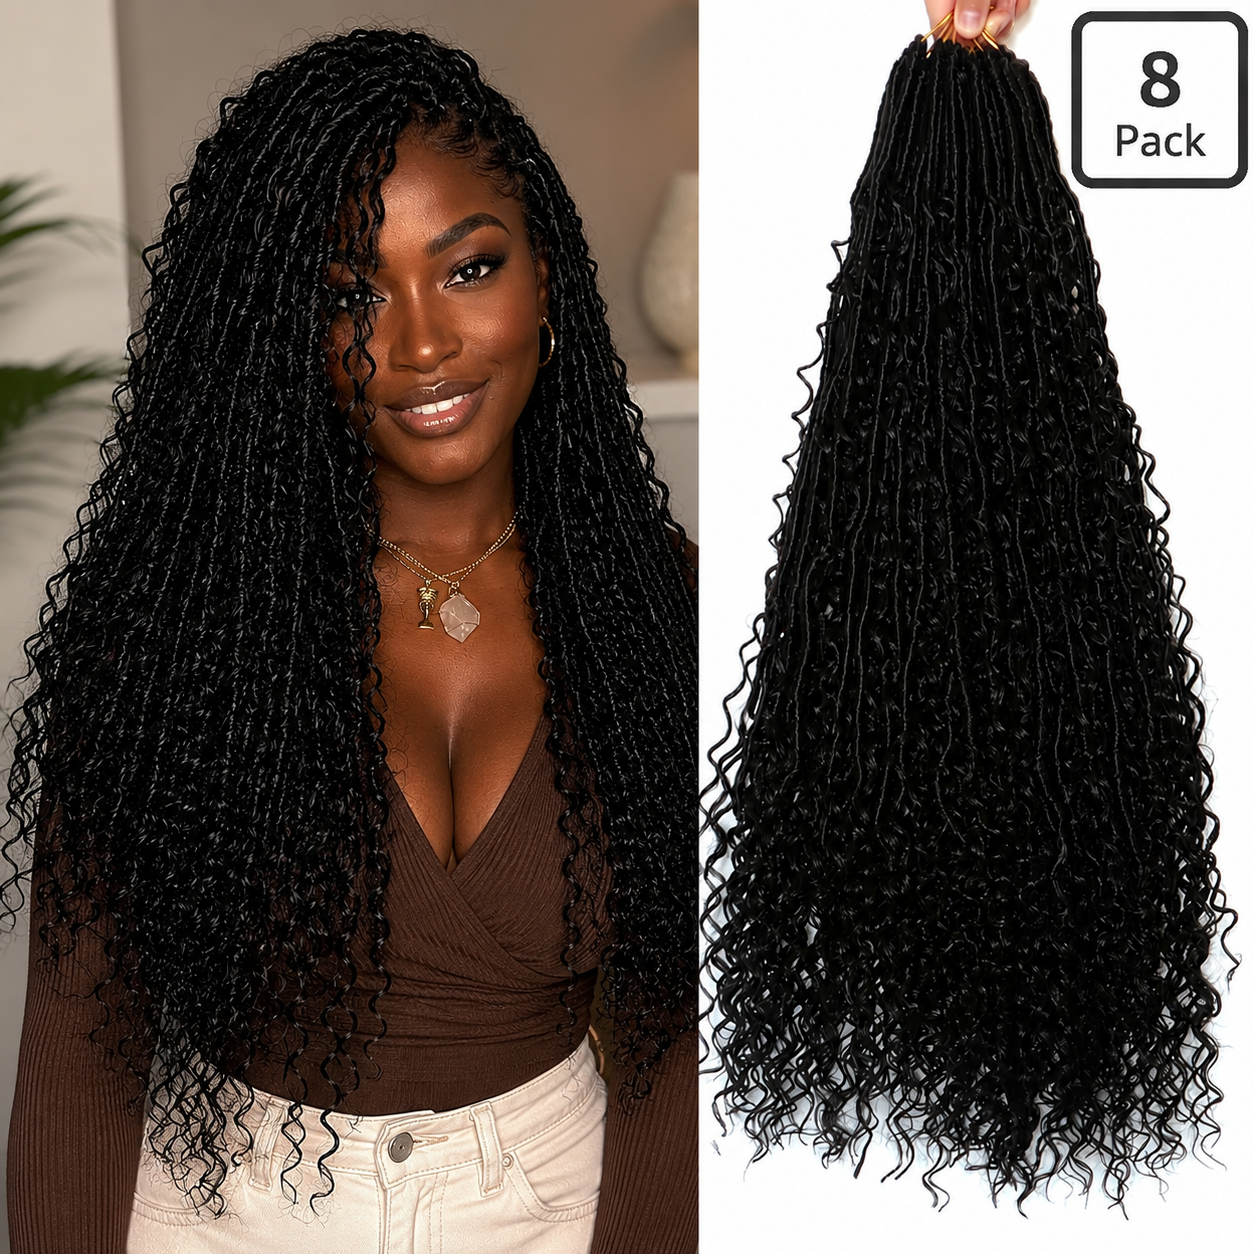
Goddess Boho Hair Style Full Bundles
Goddess Boho Hair Style Full Bundles
Couldn't load pickup availability
8 Packs is usually enough if you follow our guide.
*What you'll need:If you want extra small parts, extremely full or have an extra large head order two .*
Our Boho crochet hair (water wave or boho curl hair works beautifully)
Rat-tail comb
Hair moisturizer and edge control
Small clear or black rubber bands
Crochet hook
Hair clips
Mousse
Step 1: Prep your natural hair
Wash and condition your hair.
Apply a leave-in conditioner and seal with oil.
Stretch your hair by blow-drying on low heat or banding overnight. This makes parting easier.
Step 2: Create the rubber band sections
Part your hair into rows from front to back.
In each row, create small square or triangular sections.
Apply a little edge control around the roots.
Secure each section with a rubber band. The sections should be neat but not overly tight.
Tip: Use smaller sections around the perimeter and larger sections in the middle to create a natural-looking finish.
Step 3: For Quicker Finish Cornrow the back- if not individual braud all aroubd.
Cornrow the remaining loose hair in the back straight down or into a beehive pattern.
The cornrows provide an anchor for the crochet hair and help reduce tension on the rubber-banded sections.
Step 4: Attach the boho crochet hair
Open the latch on your crochet hook.
Slide the hook underneath one rubber-banded section.
Place the loop of the crochet hair onto the hook.
Close the latch and pull the loop through underneath the rubber band.
Pull the ends of the crochet hair through the loop once or twice to secure it.
Gently tighten.
For extra security, many people use the loop-and-twist method:
Twist the crochet strand a few times before pulling the ends through the loop. This helps prevent slipping.
Step 5: Fill in the style
Continue attaching hair to each rubber-banded section.
Use 1 strand per section for a lightweight look.
Use 2 strands in sparse areas if you want more fullness.
Step 6: Blend and shape
Separate the curls carefully using a little mousse or oil on your fingertips to reduce frizz.
Trim any uneven pieces to frame your face.
Fluff the roots gently for a natural appearance.
Step 7: Finish the style
Apply mousse throughout the hair.
Smooth your edges if desired.
Tie a satin scarf around your hair for 10–15 minutes to set everything in place.
Maintenance tips
Sleep with a satin bonnet or pillowcase.
Refresh curls with a mix of water and leave-in conditioner.
Apply mousse every few days to tame frizz.
Avoid heavy oils on the synthetic curls.
This method typically lasts 4–6 weeks and is a great beginner-friendly option because it's quicker than full individual braids while still giving that soft, boho look.
Share